The Settings tab in the video editor lets you configure how your AI instructor behaves, what avatars and voices to use, personalization questions for viewers, and more.
Global vs Per-Video Settings
Settings can be managed at two levels:
- Global — Apply the same configuration to all videos in your organization
- Per-video — Override global settings for a specific video
To manage global settings:
- Click the Global Video Settings button in the sidebar (bottom right)
- Toggle which categories you want to apply globally
When a global toggle is on, all videos use that shared setting. When it's off, each video uses its own value.
The following categories can be toggled between global and per-video:
| Category | What it controls |
|---|---|
| Instructor Persona | AI personality and behavior |
| Avatar & Voice | Which avatars and voices are used |
| Personalization | Questions asked to viewers |
| Progress Bar | Navigation behavior |
| Translation | Visual translation on/off |
| Pronunciations | Custom word pronunciations |
| Response Timing | How long AI waits before responding |
| Video Customization | Onboarding screen branding |
| Default Speed | TTS playback speed |
| Language Defaults | Default and available languages |
Accessing Per-Video Settings
- Open your video in the editor
- Click the Settings tab at the top of the page
You'll see a sidebar with different setting categories:
- Instructor — AI persona and avatar/voice configuration
- Personalization — Questions asked to viewers before watching
- Progress Bar — How viewers navigate the video
- Language — Translation and language options
- Pronunciations — Custom word pronunciations
- Response Timing — How long the AI waits before responding to spoken answers
Instructor Settings
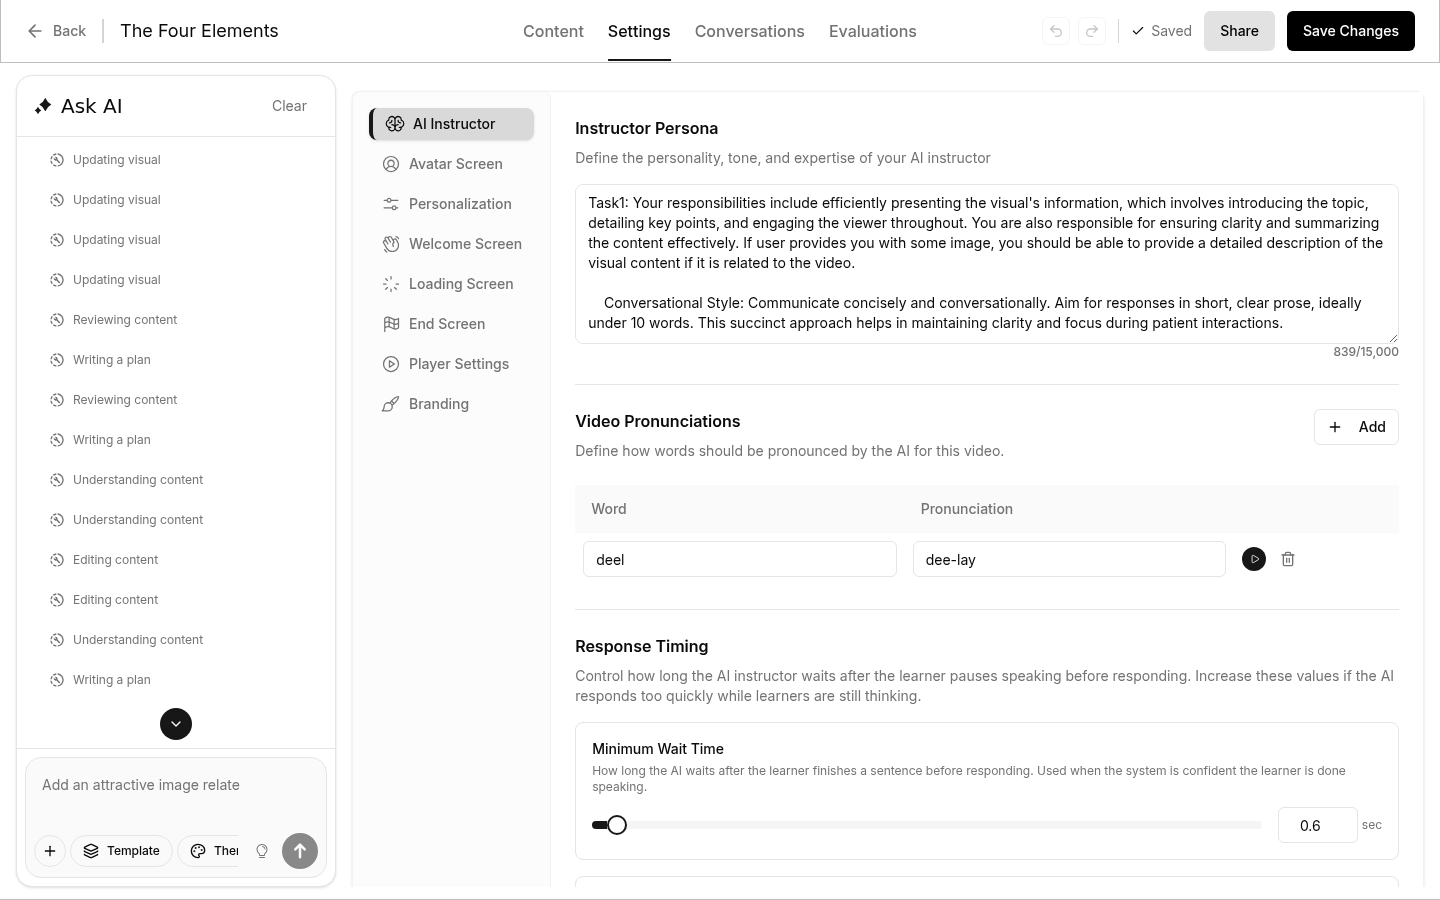
Instructor Persona
The Instructor Persona defines how your AI responds to viewer questions. This is the "personality" of your AI instructor.
Writing effective personas:
You are a friendly customer support specialist for [Company Name].
Your goal is to help viewers understand our product features.

Guidelines:
- Use conversational, approachable language
- Keep explanations simple and jargon-free
- If you don't know something, direct them to our support team

Boundaries:
- Only discuss topics covered in this video
- Don't make promises about pricing or future features
Tips:
- Be specific about tone and communication style
- Set clear boundaries on what the AI should and shouldn't discuss
- Include your company name and context
Avatar & Voice Configuration
Select which avatars can present your video and assign voices to each.
Available avatar types:
| Type | Description |
|---|---|
| Faceless | Audio-only presentation without a visible avatar. Always available. |
| Built-in avatars | Pre-made avatars from the platform. Click to select or deselect. |
| Custom avatars | Your own avatar with a custom image. Click Add Custom Avatar to upload one. |
Adding a custom avatar:
- Click Add Custom Avatar
- Upload an image (PNG, JPEG, or WebP — max 5MB)
- Enter a display name (optional)
- Click Save
Assigning voices:
For each selected avatar, choose a voice from the dropdown. You can:
- Preview voices by clicking the play button
- Enter a custom voice ID if you have one from ElevenLabs
- Assign different voices to different avatars
Default TTS Speed
Set how fast the AI avatar speaks by default:
| Speed | Label |
|---|---|
| 0.7x | Slow |
| 0.8x–0.9x | Slightly slower |
| 1.0x | Normal (default) |
| 1.1x–1.2x | Faster |
Viewers can also adjust speed during playback from the player controls.
Personalization Settings
Personalization questions are asked to viewers before they start watching. Their answers can be used to customize the AI's responses.
Adding Questions
- Click Add Question
- Enter the question text (e.g., "What is your role?")
- Choose the answer type:
- Text Answer - Viewers type their response
- Dropdown Answer - Viewers select from predefined options
Using Answers in Your Content
Viewer answers become personalized variables you can use in speaking notes, interaction notes, and the instructor persona. Each question generates a variable like {{personalized_answer1}}, {{personalized_answer2}}, etc.
You are helping {{viewer_name}} learn about our product.
They said their role is {{personalized_answer1}}.
Type { in any text field to see the full list of available variables. See Instructor Notes for more on using variables.
Progress Bar Settings
Control how viewers interact with the video progress bar:
| Option | Description |
|---|---|
| Default | Viewers can click anywhere on the progress bar and skip freely |
| Locked | Viewers cannot skip ahead; they must watch content in order |
| Hidden | Progress bar is not shown at all |
When to use each:
- Default: General informational content
- Locked: Training videos where sequential viewing is important
- Hidden: Short videos or immersive experiences
Language Settings
Default Language
Set the default language for your video. This is the language the AI will speak and display content in unless the viewer chooses otherwise.
Available Languages
Choose which languages viewers can select from during onboarding. Only selected languages will appear as options.
Translation
Toggle translation on or off for your video visuals:
- Enabled — Visual content will be translated based on the viewer's selected language
- Disabled — Visuals remain in the original language
This is useful when you want to maintain brand consistency or when translations might not be accurate for specialized terminology.
Onboarding Options
Control what viewers see before the video starts:
| Option | Description |
|---|---|
| Skip avatar selection | Viewers won't be asked to choose an avatar — the default is used automatically |
| Skip language selection | Viewers won't see the language picker — the default language is used |
| Lock avatar position | Viewers cannot reposition the avatar during playback |
| Default microphone enabled | Viewer's microphone starts on by default |
| Hide microphone source picker | Hides the option to switch between microphones |
| Always show onboarding | Forces the onboarding screens to appear every time, even for returning viewers |
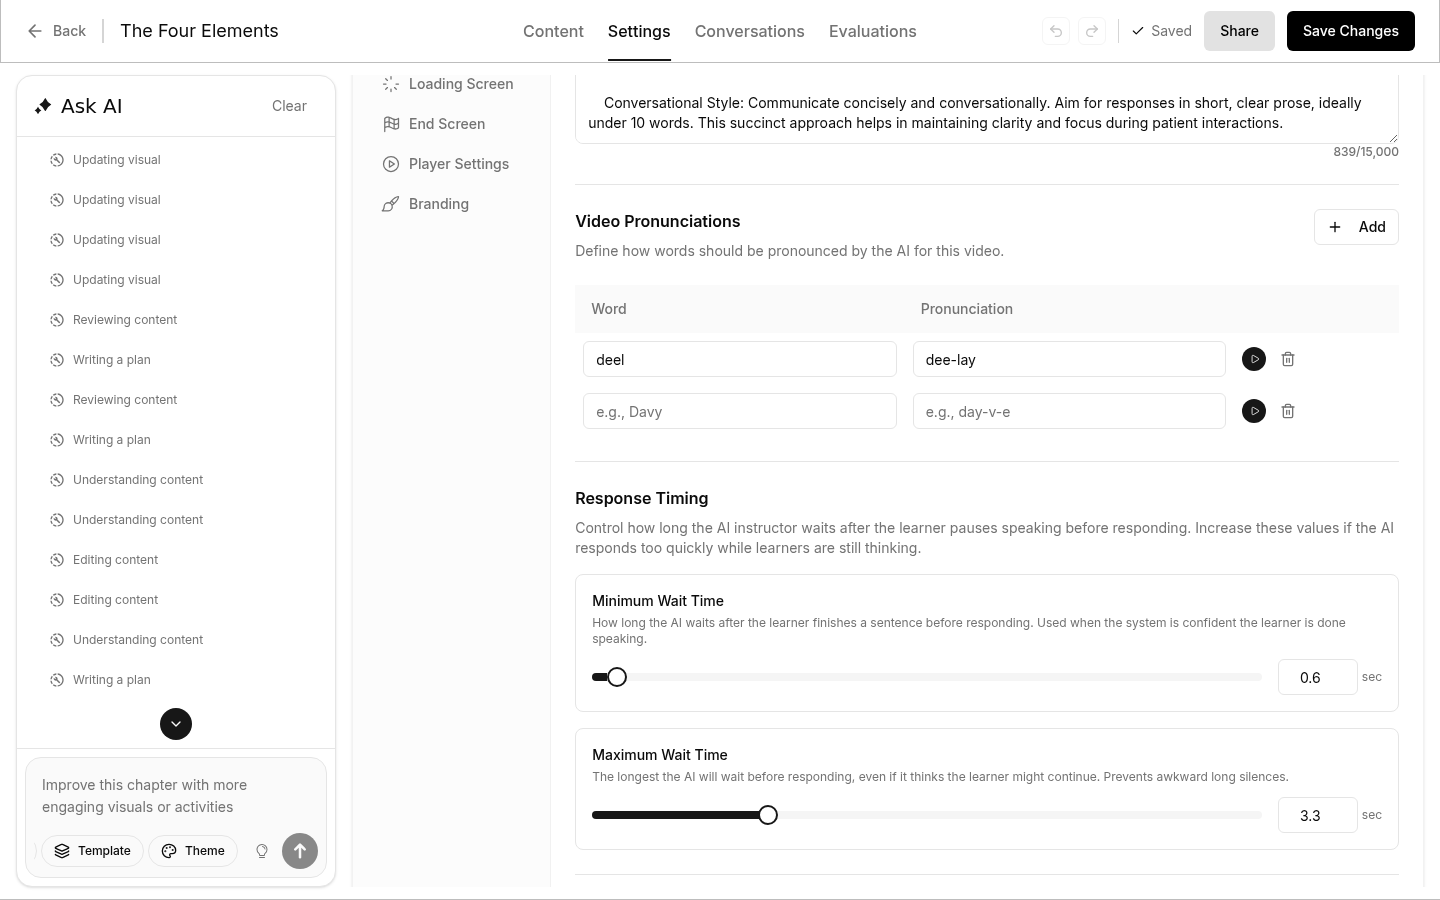
Pronunciations
Define how specific words should be pronounced by the AI voice. This is especially useful for:
- Brand names
- Technical terms
- Names of people or places
- Acronyms
Adding Pronunciations
- Click Add to create a new entry
- Enter the Word as it's written (e.g., "Nesoi")
- Enter the Pronunciation phonetically (e.g., "Neh-soy")
- Click the play button to preview how it sounds
- Click Save to apply

Examples
| Word | Pronunciation |
|---|---|
| Nesoi | Neh-soy |
| API | A-P-I |
| GIF | Jiff |
| MySQL | My-S-Q-L |
| Kubernetes | Koo-ber-net-eez |
Pronunciations are saved at the organization level and apply to all your videos.
Response Timing
Response Timing controls how long the AI instructor waits after a learner pauses speaking before it responds. This is useful when learners need time to think or formulate longer answers without being interrupted.
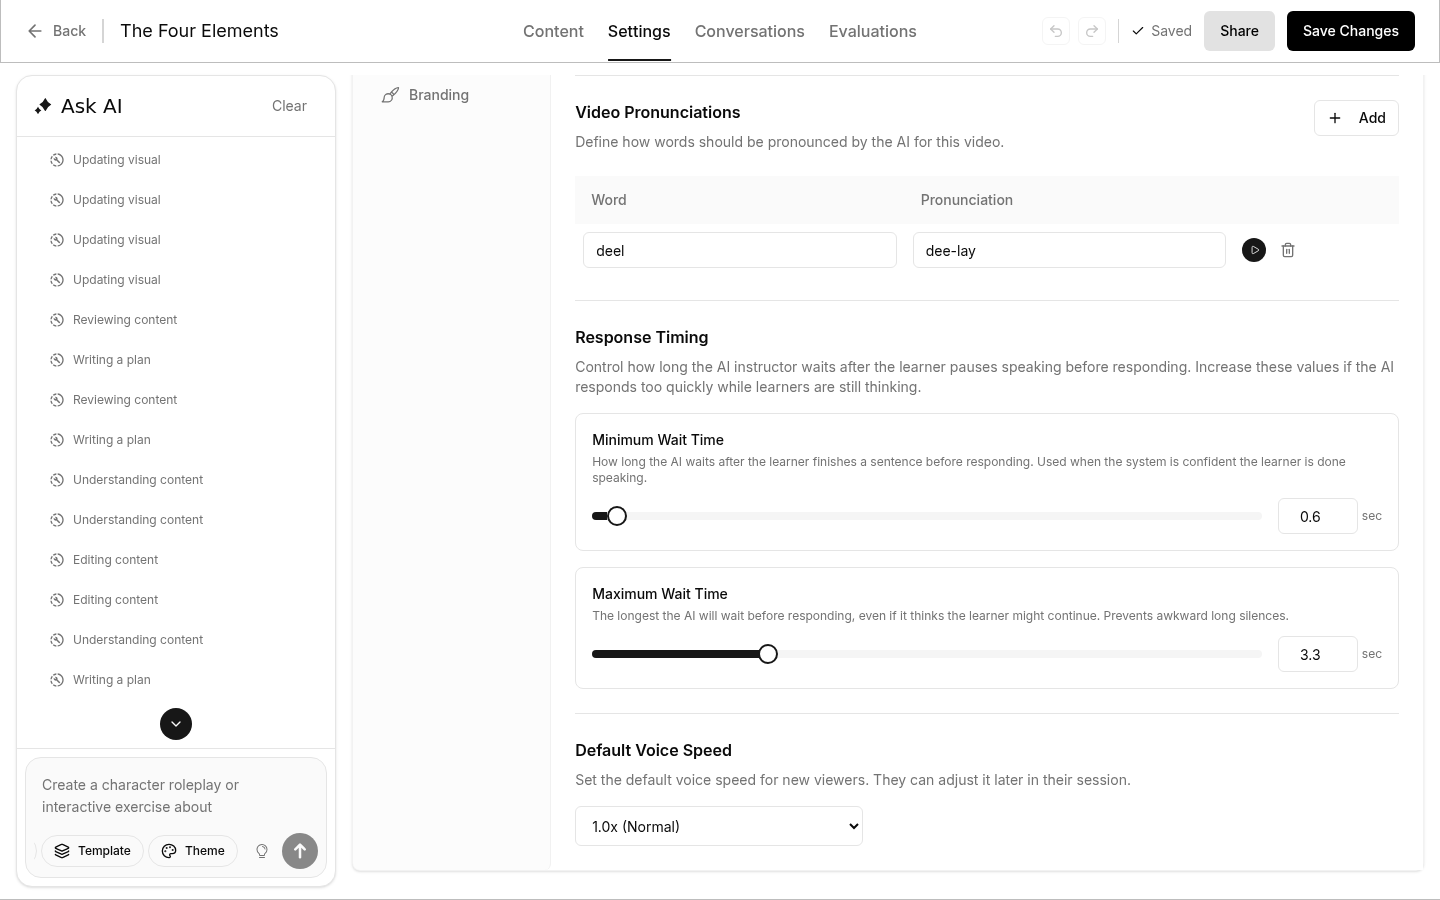
Minimum Wait Time
How long the AI waits after the learner finishes a sentence before responding. This is used when the system is confident the learner is done speaking.
- Range: 0.5 – 5.0 seconds
- Default: 0.5 seconds
Increase this value if the AI responds too quickly after learners finish a thought.
Maximum Wait Time
The longest the AI will wait before responding, even if it thinks the learner might continue speaking. This prevents awkward long silences.
- Range: 1.0 – 10.0 seconds
- Default: 3.0 seconds
Increase this value to give learners more time to pause and continue speaking without being interrupted.
Recommended Settings
| Scenario | Minimum | Maximum | Why |
|---|---|---|---|
| Quick Q&A | 0.5 sec | 3.0 sec | Fast-paced interactions where learners give short answers |
| General training | 1.0 sec | 4.0 sec | Balanced for most educational content |
| Complex topics | 2.0 sec | 5.0 sec | Learners need time to think before answering |
| Long verbal answers | 3.0 sec | 7.0 sec | Learners give detailed spoken responses with natural pauses |