The visual editor lets you modify any element in your chapter visuals. Enable AI Edit mode, click on elements to select them, and use the floating toolbar to make changes with AI assistance.
Entering AI Edit Mode
To start editing visual elements, click the AI Edit button in the right-side toolbar of the video editor. A toast notification will confirm: "You can now select elements — Click any element to edit it with AI."
Selecting Elements
Click on any visual element in your chapter to select it:
- Text (headlines, paragraphs, labels)
- Images and graphics
- Buttons and interactive elements
- Cards and containers
- Icons and decorative elements
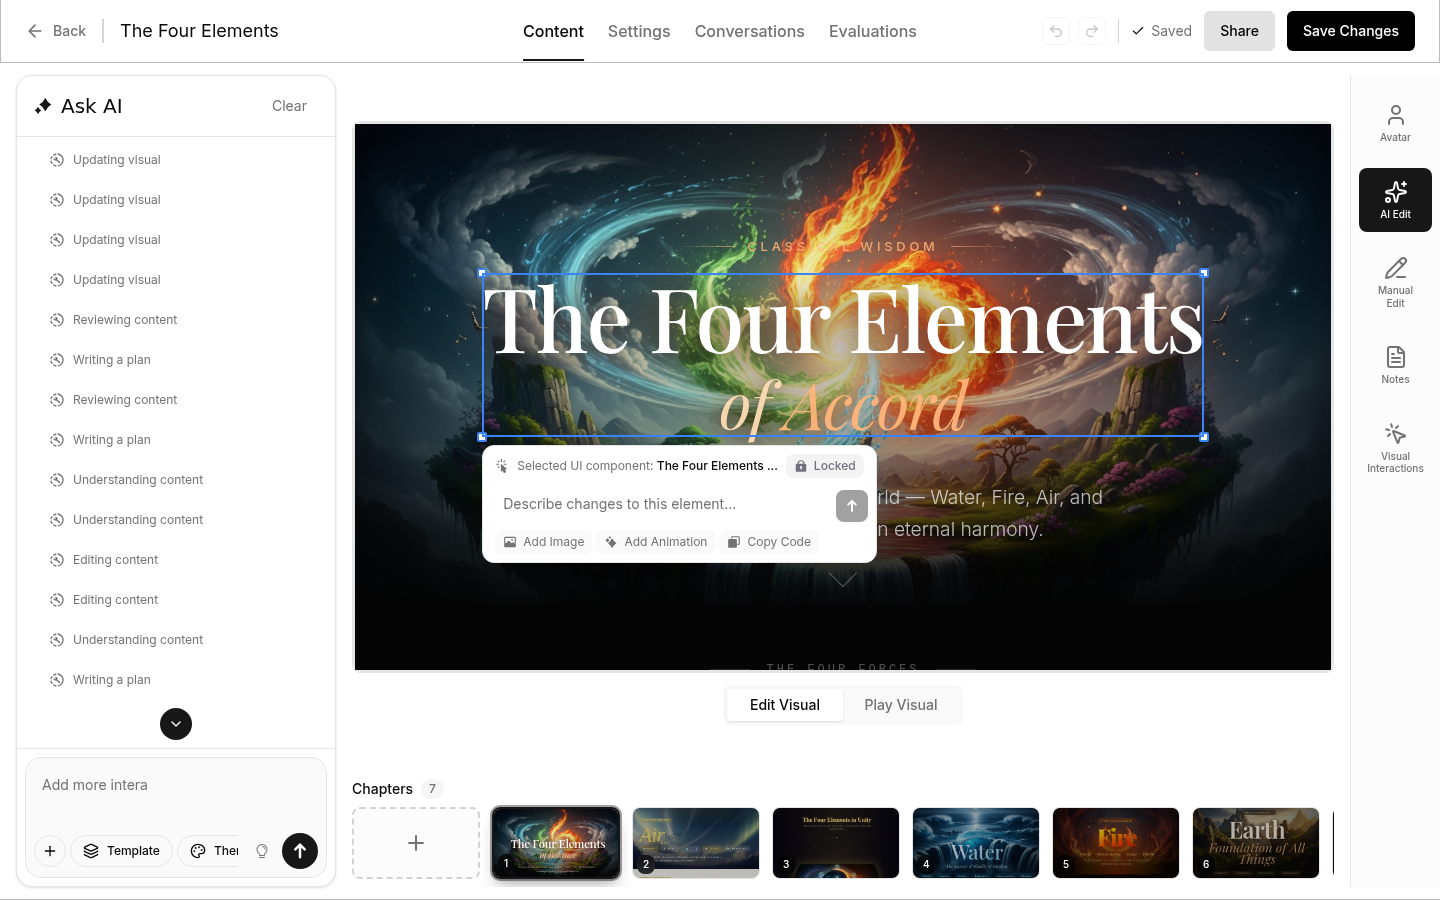
When selected, the element is highlighted with a blue border and a floating toolbar appears near it.
The Floating Toolbar
The floating toolbar appears below the selected element and shows:
- Selected element label — displays which UI component you've selected
- Lock/Unlock button — toggle whether this element is personalized by AI (see Dynamic Elements)
- Prompt field — type a request to modify the element with AI
- Quick action buttons:
- Add Image — add or replace an image on the element
- Add Animation — open the animation library (see Adding Animations)
- Copy Code — copy the HTML code of the selected element to your clipboard
Editing with AI
Type a request in the prompt field and click Send. The AI understands which element you're targeting, making editing precise and efficient.
Examples
Changing text:
- Select a headline → "Make this more engaging"
- Select a paragraph → "Shorten this to one sentence"
Changing appearance:
- Select a button → "Make this green with rounded corners"
- Select an image → "Add a subtle border"
Changing layout:
- Select a card → "Make this wider"
- Select a container → "Center the content"
Tips
- Be specific about what you want changed
- Select the exact element you want to modify
- You can submit multiple requests — they auto-queue if the AI is busy
Adding Animations
Animations bring your visuals to life. Add motion effects to any element using the animation library.
How to Add Animations
- Enable AI Edit mode — Click AI Edit in the right toolbar
- Select an element — Click on any visual element
- Open the library — Click Add Animation in the floating toolbar
- Browse animations — Filter by category (All, Basics, Forms & Input, Loading)
- Preview — Click any animation to see a live preview on the right
- Apply — Select one or more animations, then click Add Animation to confirm
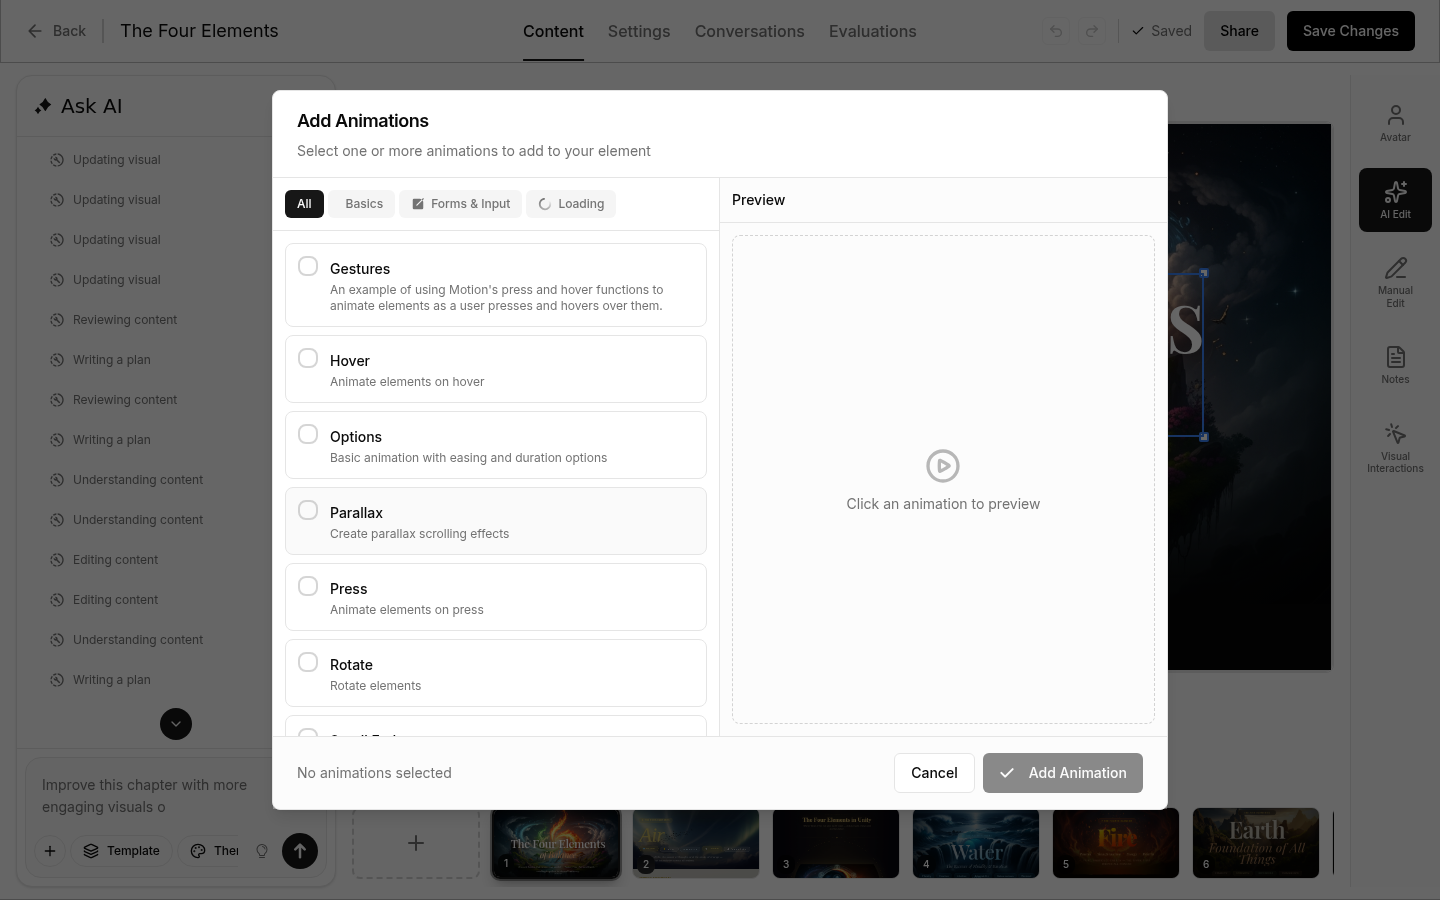
You can select multiple animations at once. After adding, the floating toolbar shows how many animations are attached to the element.
Animation Categories
Basics
Core animations for common interactions:
| Animation | Description |
|---|---|
| Gestures | Hover and press effects that respond to user interaction |
| Hover | Animate elements on hover |
| Options | Basic animation with easing and duration options |
| Parallax | Create depth with parallax scrolling effects |
| Press | Animate elements on press |
| Rotate | Rotate elements |
| Scroll Trigger | Animations that play when elements scroll into view |
Forms & Input
Animations for form elements:
| Animation | Description |
|---|---|
| Form Submission | Visual feedback when forms are submitted |
Loading
Progress and loading indicators:
| Animation | Description |
|---|---|
| Spinner | Rotating loading indicators |
| Progress Bar | Linear progress animations |
Animation Tips
- Use animations purposefully - don't over-animate
- Consider accessibility - some users prefer reduced motion
- Test on different devices to ensure smooth performance
- Scroll-triggered animations work well for revealing content
- Hover effects add interactivity without being distracting
Dynamic Elements (Unlock for AI)
You can mark text elements in your visuals as "unlocked" so the AI can personalize them for each viewer. For example, you might unlock a heading so the AI inserts the viewer's name, or unlock a paragraph so the AI tailors the explanation to the viewer's role.
How to Unlock an Element
- Enable AI Edit mode and click on a text element in the visual preview
- In the floating toolbar, click the Lock/Unlock button — this opens the Dynamic Element panel on the right side
- Toggle Unlock for AI in the panel
- Add a description to guide the AI (e.g., "Insert the viewer's first name" or "Tailor this paragraph to the viewer's experience level")
- Click Save to apply
What Happens
When a viewer watches the video, the AI reads your description and fills in the unlocked element with personalized content. The original text is used as a fallback if no personalization applies.
Supported Elements
You can unlock text elements like headings, paragraphs, labels, buttons, list items, and links.
Tips
- Keep descriptions clear and specific so the AI knows what to insert
- Use the original text as a good default — it appears if personalization can't be applied
- Unlocked elements work well with personalized variables for a fully tailored experience
Best Practices
Visual Hierarchy
- Make important elements stand out
- Use size, color, and position to guide attention
- Keep a clear reading flow
Consistency
- Use the same styles for similar elements
- Maintain consistent spacing
- Follow your template's design patterns
Performance
- Avoid too many animations on one screen
- Keep images optimized
- Test on slower devices
Accessibility
- Ensure sufficient color contrast
- Don't rely solely on color to convey meaning
- Keep text readable at all sizes